
 Svenska
 Dansk
Dansk
 Deutsch
 Polskie
 Français
 Italiano
 Español
 Suomi
Suomi
 Norsk
Norsk
 Nederlands
Cart
Your cart is empty, but doesn't have to be..
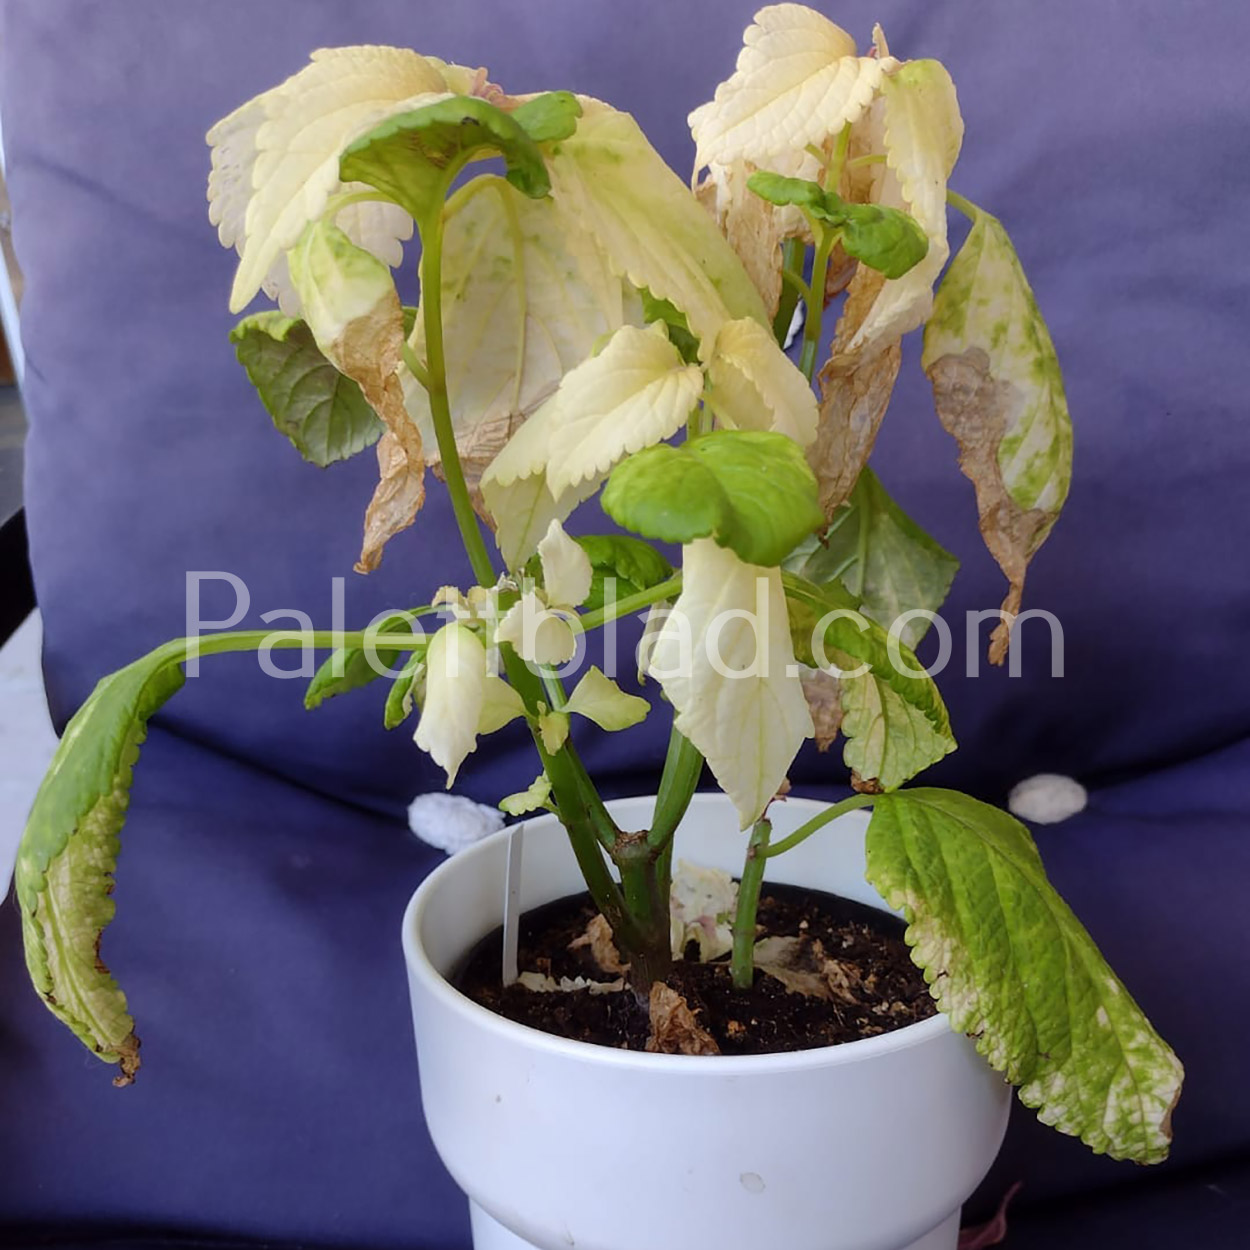
Drooping leaves? White fuzzy spots? Tiny bugs in the growing tips? Don't panic. Most problems can be solved if you start in the right place. Here we go through the most common coleus problems, how to recognize them and what to do about them.
A thirsty plant, a drowned plant and a plant with pests often look exactly the same. The treatments are completely different, though. So find the cause first.
Three simple tricks that make the diagnosis easier:
Feel the soil – a couple of centimeters down (about an inch), not just at the surface.
Look at the undersides of the leaves in good light, ideally with a magnifying glass or your phone camera's zoom.
Hold a white sheet of paper under the leaves and shake the plant gently – any tiny bugs that fall are instantly visible.
Take a photo of the damage before you start treating. Then you can compare afterwards and see whether the treatment is working.
This is the most important difference to figure out. Because if you guess wrong, you make the problem worse.
Are the leaves drooping and the soil dry? Then it's thirst. Water, and the plant usually recovers within a few hours. Coleus wilt quickly but bounce back just as quickly. If the plant has dried out completely and been left dry for a long time, though, recovery isn't guaranteed.
Are the leaves drooping even though the soil is wet? Then it's most likely root rot. The tricky part is that the plant looks thirsty. But more water actually makes it worse. Root rot develops when the roots sit wet for too long. It's often caused by compacted soil or a pot without a drainage hole. Affected tissue turns brown, soft and often slimy.
How to save a plant with root rot:
1. Dig up the plant and rinse the roots.
2. Cut away everything that's brown and soft. Healthy roots are white and firm.
3. Repot in fresh, airy soil in a clean pot with a drainage hole.
4. Water sparingly until the plant is growing again.
Is the stem affected? Cut back hard to healthy tissue, or take healthy cuttings from the tops and throw the mother plant away. In winter, overwatering is the most common cause of death for coleus. A dormant plant drinks only a fraction of what it did in summer. Keep watering at the same rate and you'll drown the roots.
If your plant drops leaves in autumn and winter, it's usually completely normal. When the light isn't enough, the plant sheds old leaves and puts its energy into the ones that remain. The branches can get quite bare, but the plant is resting, not dying. Place it in your brightest window, water sparingly and wait for spring. Or give it a grow light and it will keep growing. You'll find how to help your coleus through the winter in Coleus during the winter.
If the plant drops leaves in the middle of the season, however, it's a sign that something is wrong. Check three things:
The watering – both too much and too little water make the plant drop leaves.
The pot – if roots are growing out through the drainage holes, it's time to repot.
The undersides of the leaves – pests usually hide there.
As a rule of thumb:
Yellow leaves – usually caused by overwatering, lack of plant food or lack of light.
Brown, dry leaf edges – usually come from drying out or too much sun.
Brown, soft spots that spread – that's leaf fungus. Remove affected leaves, let the soil dry out between waterings and give the plants an airier spot.
If your coleus get pests, the infestation usually arrives with a new plant or cutting. Also remember that the leaves are sensitive to spraying. Use mild treatments like soap solution. A simple recipe is ½ dl (50 ml) soft soap per liter of water. Spray in the morning or evening, since wet leaves can burn in direct sun. Test on a single leaf first.
Thrips – silvery, dry patches on the leaves with small black dots, which are the bugs' droppings. The bug itself is 1–2 mm, narrow and able to fly. Isolate the plant, rinse both sides of the leaves and spray with soap solution. Spray the neighboring plants preventively too. They can be infested without it showing. One trick is to tie a plastic bag around the plant for a few hours after the treatment so the solution has time to do its job. Repeat the treatment after a couple of weeks. The eggs are protected inside the leaf tissue, so one treatment is never enough. For thrips you can also order predatory mites, a beneficial predator that works best early in an infestation.
Spider mites – masses of tiny pale dots, dull leaves and at a later stage thin white webbing on the undersides. Rinse the undersides with a strong jet of water, wipe with a microfiber cloth and treat with soap solution. Spider mites thrive in warm, dry air, so higher humidity works against them. You can also order predatory mites that eat spider mites.
Stunted growth – mites in the growing tips. Has the plant stopped growing? Are the new leaves small, hard and leathery? Is the color missing? Then there are most likely mites in the top shoots. They're too small to see without strong magnification. Cut off infested tops and treat repeatedly for two to three weeks with a leaf shine spray that contains paraffin oil. Leaf shine is a spray used to make leaves glossy, and you'll find it at garden centers. The oil penetrates into the top shoots and smothers the mites. A hard cutback often gives healthy regrowth.
Aphids – green bugs on the undersides and top shoots. Remove affected leaves. Have the aphids spread across the whole plant? Shower it and treat with soap solution every other week until the infestation is gone.
Whiteflies – small white flying bugs that multiply quickly in a warm, dry environment. Spray soap solution thoroughly over the whole plant, especially on the leaf undersides and in the top shoots where the eggs and larvae are. Repeat after two weeks.
Fungus gnats – small black gnats at the soil surface. The larvae live in moist soil and mainly go for seedlings and small plants. The most effective remedy is beneficial nematodes, which attack the larvae down in the soil. Let the soil surface dry out between waterings since the eggs need moisture, set out yellow sticky traps to catch the adult gnats, and put perlite or gravel on the surface.
Mealybugs – small off-white bugs that look like tiny pill bugs and build white fluff on the leaves. Dab them off with a cotton swab dipped in a mixture of equal parts rubbing alcohol, soft soap and warm water. Repeat every other week. That works while the infestation is small. If the mealybugs have spread, the whole plant needs to be sprayed with soap solution several times at weekly intervals. You can also order the beneficial ladybug Cryptolaemus, sold as the mealybug destroyer, whose larvae eat the mealybugs. A heavily infested plant is often easiest to throw away.
Two completely different problems that are easy to confuse:
Powdery mildew – a fungal disease that shows as an even, white powdery coating on leaves and stem. It's most common during the temperature swings of spring and autumn. Remove affected leaves, improve the air circulation, feed less for a while and treat with a sulfur-based product such as Kumulus.
Mealybugs – live insects that build fluff looking like little balls of cotton. In the fluff you'll find the bugs themselves. You'll find the treatment in the list above.
Look closely to tell them apart. If you see bugs it's mealybugs, and if it's an even powder it's powdery mildew.
If the leaves get round spots in ring patterns or marbled patterns in different colors, it can be INSV virus. The virus is spread by thrips. Unfortunately there's no cure. Throw the plant away and keep the neighboring plants in quarantine. The same goes for severe infestations of top-shoot mites if you have many plants. Sometimes it's cheaper to throw one plant away than to risk infecting the rest of your plants.
Buy from reputable sellers – that's where the risk of pests is lowest.
Buy from as few different sellers as possible – every new seller is a new way in for pests. Better to buy several cuttings from the same seller.
Quarantine for all newcomers. Keep new plants separate and inspect them regularly. The common advice is one to two weeks. Experienced collectors keep the quarantine for two to three months, because mite life cycles are long and stowaways most often come in on store-bought plants. The more plants you have to protect, the longer the quarantine should be.
Check the undersides while you're watering anyway. Early infestations are easy to stop and can often simply be cut away.
Grow your own from seed – pests come with plants and cuttings, never with seeds. We stock seeds for over 70 coleus varieties.
 10 facts about coleus
 5 accessory tips
 Blue coleus
 Prune coleus
 Rare coleus
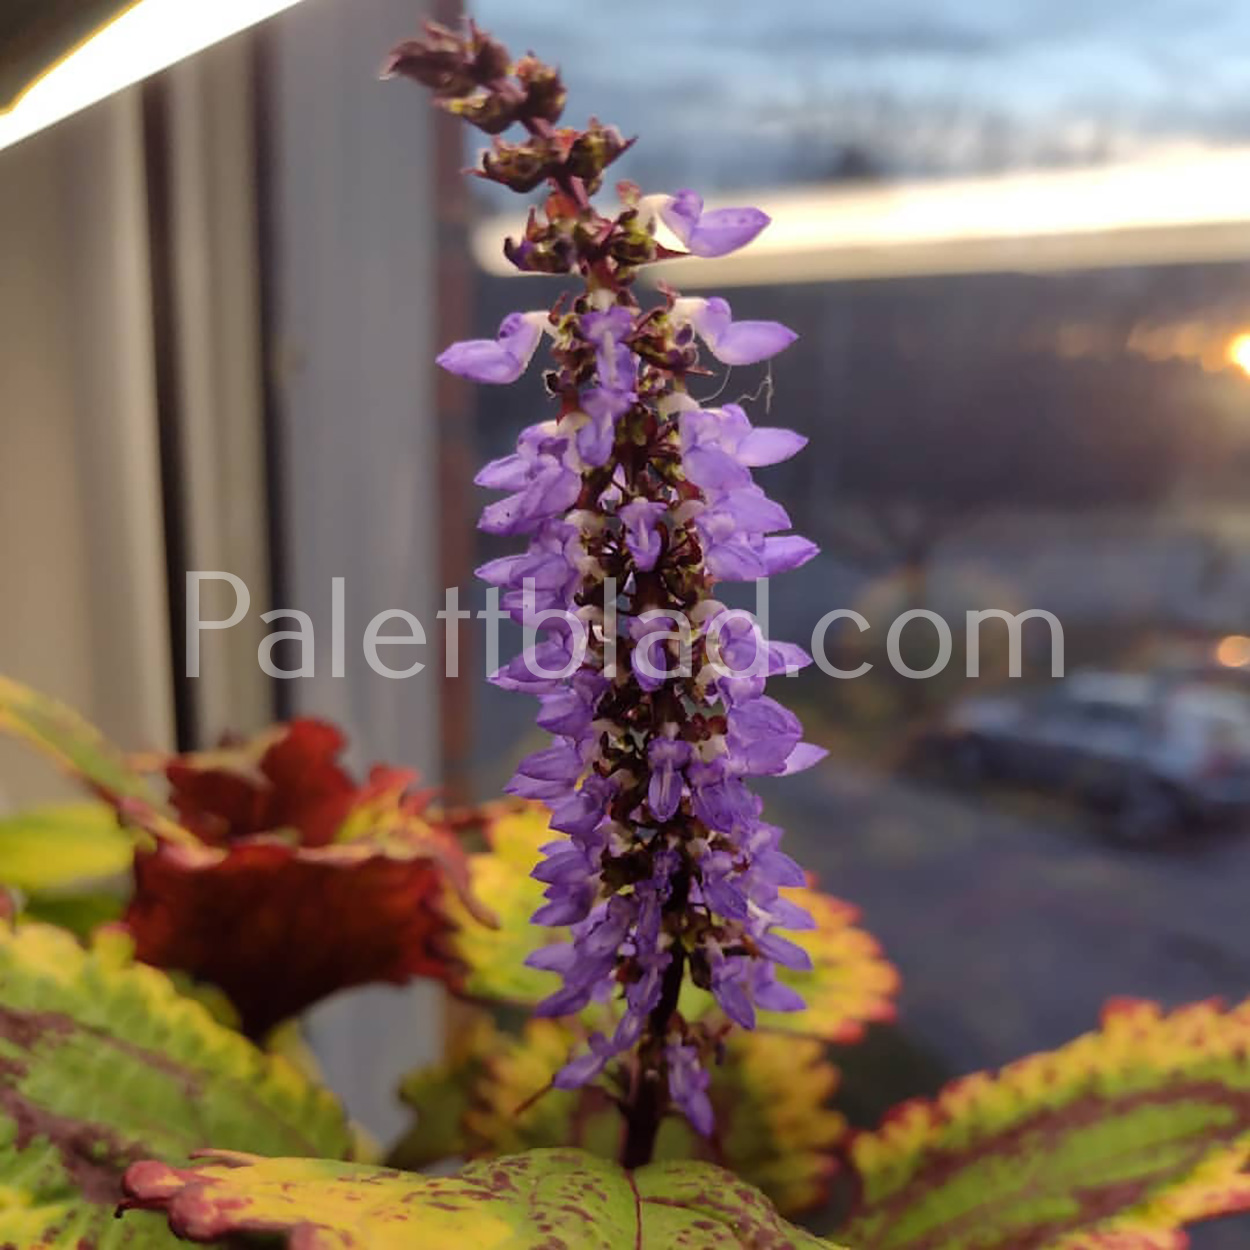 Coleus flowering
 Coleus seeds
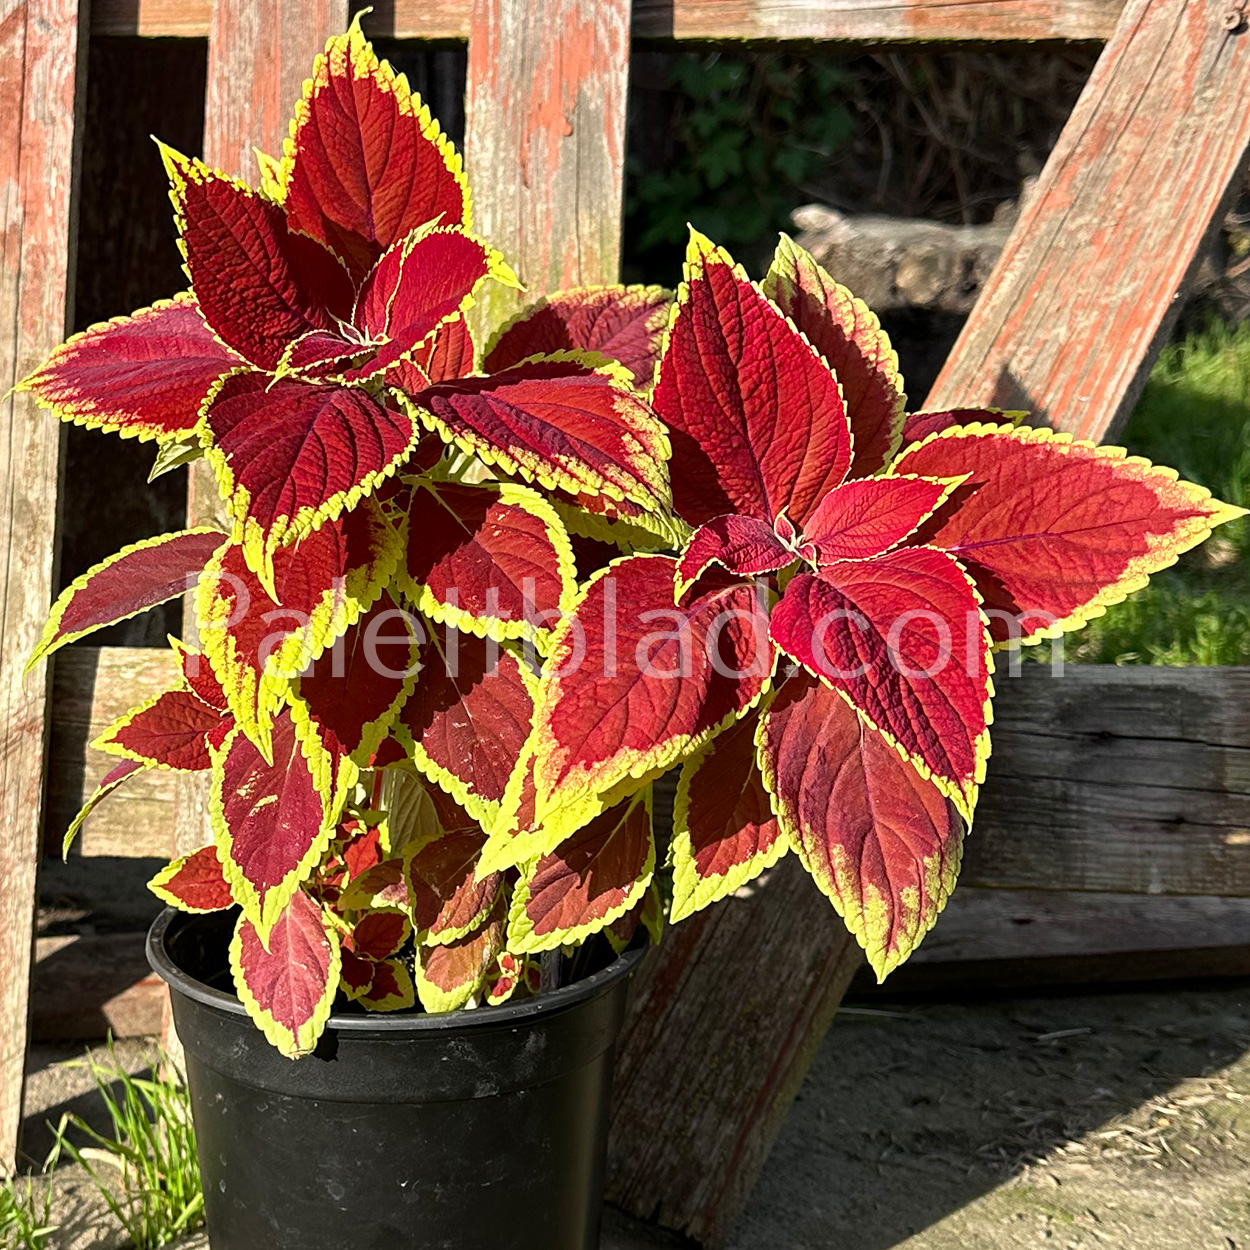 Coleus in the sun
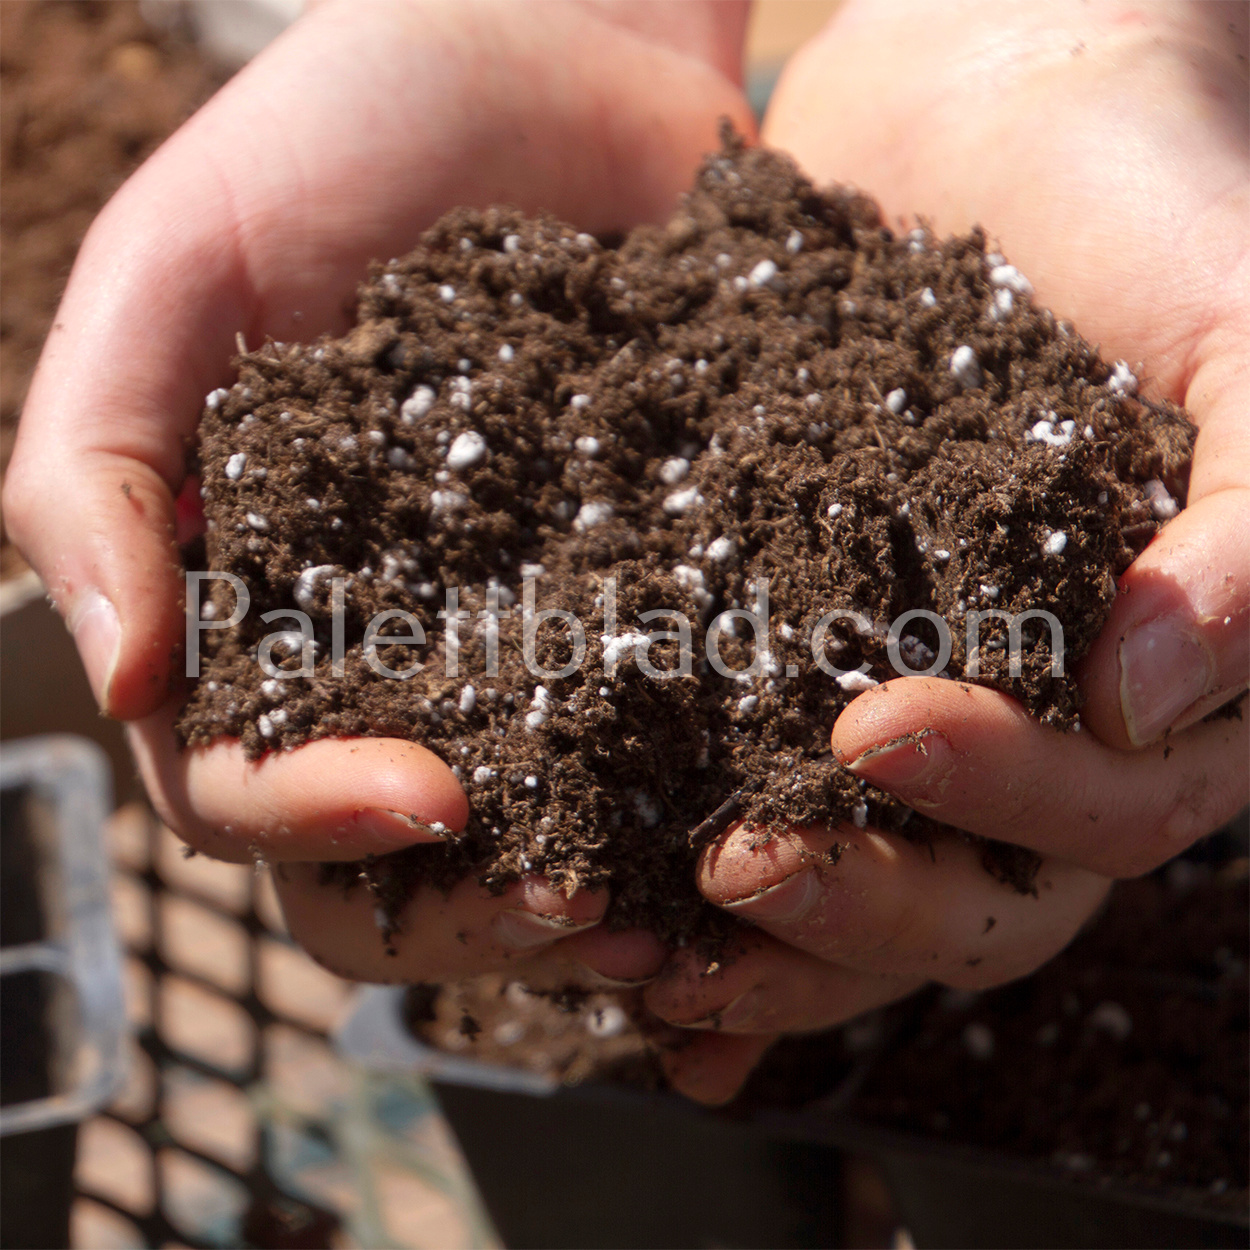 Soil for coleus
 Coleus care
 Coleus varieties
 Coleus cuttings
 Coleus outdoors
 Coleus tree
Coleus problems
Coleus tree
Coleus problems How to grow coleus plants from seeds
 Grow lights
 Are coleus toxic to cats?
 Coleus in winter
Your cart is empty, but doesn't have to be..